Thursday, September 11, 2014

DIY Large Wooden Dog Bed

I am working on building myself a new bedroom set. My dog can no longer make it up on my bed due to arthritis, so I built him his own bed. I bought the wood for this for less than $25! Similar pet beds can be found on Etsy for close to $200. You can build your own and save a ton of money!


This is a very large bed, so if you have a smaller dog, you may want to change the size. 


Needed Materials:
1 - 1" x 2" at 4 feet long
2 - 1" x 3" at 8 feet long
1 - 1" x 4" at 4 feet long
1 - 1" x 12" at 4 feet long
1 - 1" x 12" at 6 feet long
3 - 2" x 6" at 8 feet long
1 1/4" pocket hole screws
2 1/2" pocket hole screws
1 1/4" finishing nails
wood glue
paint or stain

Step 1: Make your wood cuts.
Wood Cuts:
6 - 2" x 6" at 45" (base)
2 - 1" x 12" at 33" (sides)
1 - 1" x 12" at 46 1/2" (back)
1 - 1" x 4" at 45" (front)
2 - 1" x 2" at 11 1/4" (front trim)
4 - 1" x 3" at 11 1/4" (side trim)
4 - 1" x 3" at 29 3/4" (side trim)


Step 2: Build the base. Using a Kreg Jig set at the 1 1/2" setting and 2 1/2" pocket hole screws, make a base out of the 2"x6" boards.


I went a little overboard on the number of screws, but I wanted to make sure it was stable. Here is what the bottom of my base looked like.


And here is the top. The pocket holes will be on the bottom of the dog bed. But before you flip your base over to the top, drill the pocket holes for the sides, front, and back.


Step 3: Using the Kreg jig set at the 3/4" setting and 1 1/4" pocket hole screws, attach the sides of the bed.


Step 4: Using the Kreg jig set at the 3/4" setting and 1 1/4" pocket hole screws, attach the back and the front of the bed.


Step 5: Using wood glue and 1 1/4" finishing nails, attach the trim. I used a nailer, but you can also just use finishing nails.


I first attached the 1"x2" front trim. The trim covers the ends of the 1"x12" sides and overlaps the front 1"x4".


Then I attached the vertical 1"x3" side trim. The front overlaps the 1"x2" trim and the side 1"x12". The back trim covers the ends of the 1"x12" back and overlaps the side 1"x12" side.

Finally, I attached the horizontal 1"x3" side trim. 


Step 6: Fill any holes with wood filler and sand it.

Step 7: Stain or paint the dog bed. I primed and then painted this dog bed. I used Rustoleum Painter's Touch in Kona Brown.


I had to bribe Gibson to try out his new bed, but now he approves! And I'm happy that I will no longer have to trip over the pile of blankets on the floor at the foot of the bed for him.


Additional helpful hint: 

When working with stud grade wood, you may notice that the wood is stamped with the wood's grade. Sometimes, you can just put the stamped side to an area that will will not be visible. If you are priming and painting or are using a dark color, you probably will not have to worry about it, because it will be covered. However if you need to remove it, you can simply sand the stamps.

Before sanding


After sanding

Sunday, September 7, 2014

DIY Bracelet Display Stand


My oldest niece loves doing crafts. This past Christmas, she received a Rainbow Loom. Since then, she has been addicted to making rubber band bracelets, charms, belts, hair ties, pretty much anything you can imagine that could be made out of rubber bands.

She has an entire tackle box filled of her creations. She has made many for her friends, but she has also started selling some. She needed an easy way to display the bracelets. I attended my State Fair last week and I saw the perfect solution. A 4-H member had made a stand out of a paper towel roll, a dowel, and a wood block. My niece and I made this stand with materials that I had around the house.


Here are the directions so you can make a cute and easy way to display and organize your bracelets.


Needed Supplies:
PVC Pipe or Empty Paper Towel Roll
Dowel
Block of Wood
Fabric (Optional)
Drill
Wood Glue
Hot Glue Gun and Glue (If you add fabric)
Saw (If you need to cut your wood block, dowel, or PVC to size.)
Paint or Stain (If you want to paint or stain the base and/or dowel.)

Step 1. Gather your supplies


Initially, we planned on using an empty paper towel roll. But, we noticed that I had a piece of PVC pipe that I had leftover from a dog bed that I had made. The PVC pipe is obviously much stronger, so we decided to use that.

Step 2. Cut the PVC pipe, dowel, and wood block down to your desired size. We did not measure anything for this part. She just estimated the lengths and we made the cuts using a miter saw.


Step 3. Using a spade bit, drill a hole into the block of wood to fit the size of your dowel. Don't drill all the way through the board, just enough to hold the dowel.


Step 4. Drill a hole in the PVC pipe or cut a hole in the paper towel roll if you are using that. Again, we did not do any measuring, she just pointed at where she wanted to drill and we drilled there.


Step 5. Insert your dowel into the PVC pipe. At this point, it is just to make sure it fits. Do not glue it in place. 


Be sure to get a good look to make sure it fits!


Step 6. Put a small amount of wood glue into the drilled hole in the base. Insert the dowel and PVC into the wood block. 


Step 7. If you want to add fabric to your display, take the PVC Pipe off the stand and wrap it in the fabric of your choice. Glue the fabric in place with hot glue. You probably want to add fabric if you are using a paper towel roll. My niece did not want to add fabric to her display.

Step 8. Insert the dowel into the wrapped pipe and glue it in place.


Step 9. Put your bracelets on your new Bracelet Display Stand and enjoy!

If you want to learn how to make some Rainbow Loom bracelets, be sure to check out my niece's You Tube videos at The Crafty Kid.

Thursday, August 7, 2014

How to Make a Safari-Themed Nursery Mobile

Last week, I made my nephew a safari-themed mobile. My brother had looked at a few on Etsy that he liked, but they were quite costly. He asked if I would be able to make one. It was super easy and it turned out pretty cute. The entire mobile costs less than $5 to make! Each animal costs less than $1 to make!

The past five days, I have showed you how to make a felt elephant, lion, giraffe, monkey, and snake to hang from the mobile. Be sure to click on the links for the tutorials of each animal if you missed them. Today, I will show you how to make the actual mobile.


Needed Materials:
String, Ribbon, or Yarn
Dark Green Felt
Light Green Felt
Embroidery Hoop
Washi Tape or Ribbon
Small Washer


Step 1. The embroidery hoop comes with two hoops. Take the inside loop out and use that. I used a 12 inch hoop. If you want yours to be bigger or smaller, just adjust accordingly.


Step 2. Take your washi tape or ribbon and put it on your the inside of the embroidery hoop. I used washi tape because it was quick and easy. You also could glue a ribbon around it or even wrap yarn around the hoop. Being that it is on the inside, you really do not have to decorate it, but I think it looks nicer.


Step 3. Attach the main hanging string. Cut 3 lengths of yarn or string at about 8 inches (or the length that you desire). Tie these three strings to the washer and then to the hoop. Try to evenly space them around the hoop. I then put a small piece of washi tape over it to hold it in place. Cut a long length of yarn and tie it to the washer. The length of this piece depends on what you are hanging it from and at what height. 


Step 4. Make the felt leaves. I did not make a template to make these. I just cut them at random.


Step 5. Cut a length of yarn about 2 feet long. Starting from the bottom of the felt animal, pull the yarn though the animal. Depending on the weight of the felt animals, you may need to play with the placement. If your animal is too heavy on one side, it can cause the animal to lean to the side. If the animal is top heavy, it can fall forward or backward, so you may have to experiment. 


Step 6. Put a knot at the very end of the yarn. Pull the yarn through the animal until you get to the knot. The knot at the bottom of the animal will hold it. You may want to put a small dab of glue on the knot just to ensure it stays.


Step 7. Thread the yarn through the leaves. Again, you will want to place a knot at the bottom of each to hold them up. Put as many or as few leaves as you want. Do this process for all the animals.


Step 8. Tie the animals to the hoop at your ideal length. You may need to move the animals around or change the lengths of the yarn because you need to create a balance. Ideally, you should place similar weight items across from each other.


Step 9. Once you are sure of your placement of the animals. Put a small piece of tape or glue on the place where you tied it to the hoop. This will ensure that they don't slide around the hoop and become unbalanced.

Step 10. Place the washi tape or ribbon on the outside of the embroidery hoop.

Step 11. If you want an animal in the middle of the mobile, tie that animal to the washer.

Step 12. Hang the mobile and enjoy!


If you don't want to use a hoop, you can usually find an old mobile at the local thrift stores. You can follow the same process of hanging the animals, just hang them to the mobile holder instead of the hoop. Here is a picture of the felt animals that I made hanging from an old mobile hanger.


Another option is to take a couple dowels, glue them together to form a "t" and hang the animals from the dowels. This method does require more work to get the animals to balance. I did not try this method, but it would work if you have dowels on hand.

This would make a great personalized gift for any baby shower. Simply change the animals to fit any nursery theme. It is quick, easy, and inexpensive to make! 


Wednesday, August 6, 2014

How to Make a Felt Snake Toy

Last week, I made my nephew a safari-themed mobile. My brother had looked at a few on Etsy that he liked, but they were quite costly. He asked if I would be able to make one. It was super easy and it turned out pretty cute. The entire mobile costs less than $5 to make! Each animal costs less than $1 to make!

Today, I will show you how to make the snake. I made mine yellow and black, but you can make yours any color that you want.


Needed Materials:

Yellow Felt (body)
Black Felt (markings)
White Felt (outer eyes)
Black Felt (inner eyes)

Red Felt (tongue)
Small Amount of Polyfill Stuffing
Sewing Needle
Thread
Craft Glue


Step 1. Make a template. I just drew up a template on my own for this one. It was just a long body and then the head, so there is not much to it. I am not artsy at all, so you may want to come up with your own ideas. Here is pdf file of the snake template that I used.


Step 2. Using your template, cut the snake out of the felt. I did find that it was a little easier to cut out the template if I pinned the template to the felt and then cut around it.

Step 3. Staying close to the edges, sew around the entire body. When sewing the head, place the tongue and sew it in place. Be sure to leave an open space to put in the stuffing. 

Step 4. Lightly stuff the snake.

Step 5. Once you are happy with the amount of stuffing, sew the hole shut.


Step 6. Glue or sew on the eyes. I did not make a template for the eyes, because they are just ovals. However, you might choose to use safety eyes or googly eyes or whatever you want.

Step 7. Glue or sew on any markings that you choose to give your snake.

Step 8. I just drew on the nostrils with a Sharpie, but you could also embroider it or even make them out of felt.


I think this snake turned out pretty cute. These felt animals would also make great toys or even decorations. You could also skip the stuffing and use them as embellishments.

We now have an elephant, lion, giraffe, monkey, and snake. Tomorrow, I will show you how to make these animals into a mobile.

Tuesday, August 5, 2014

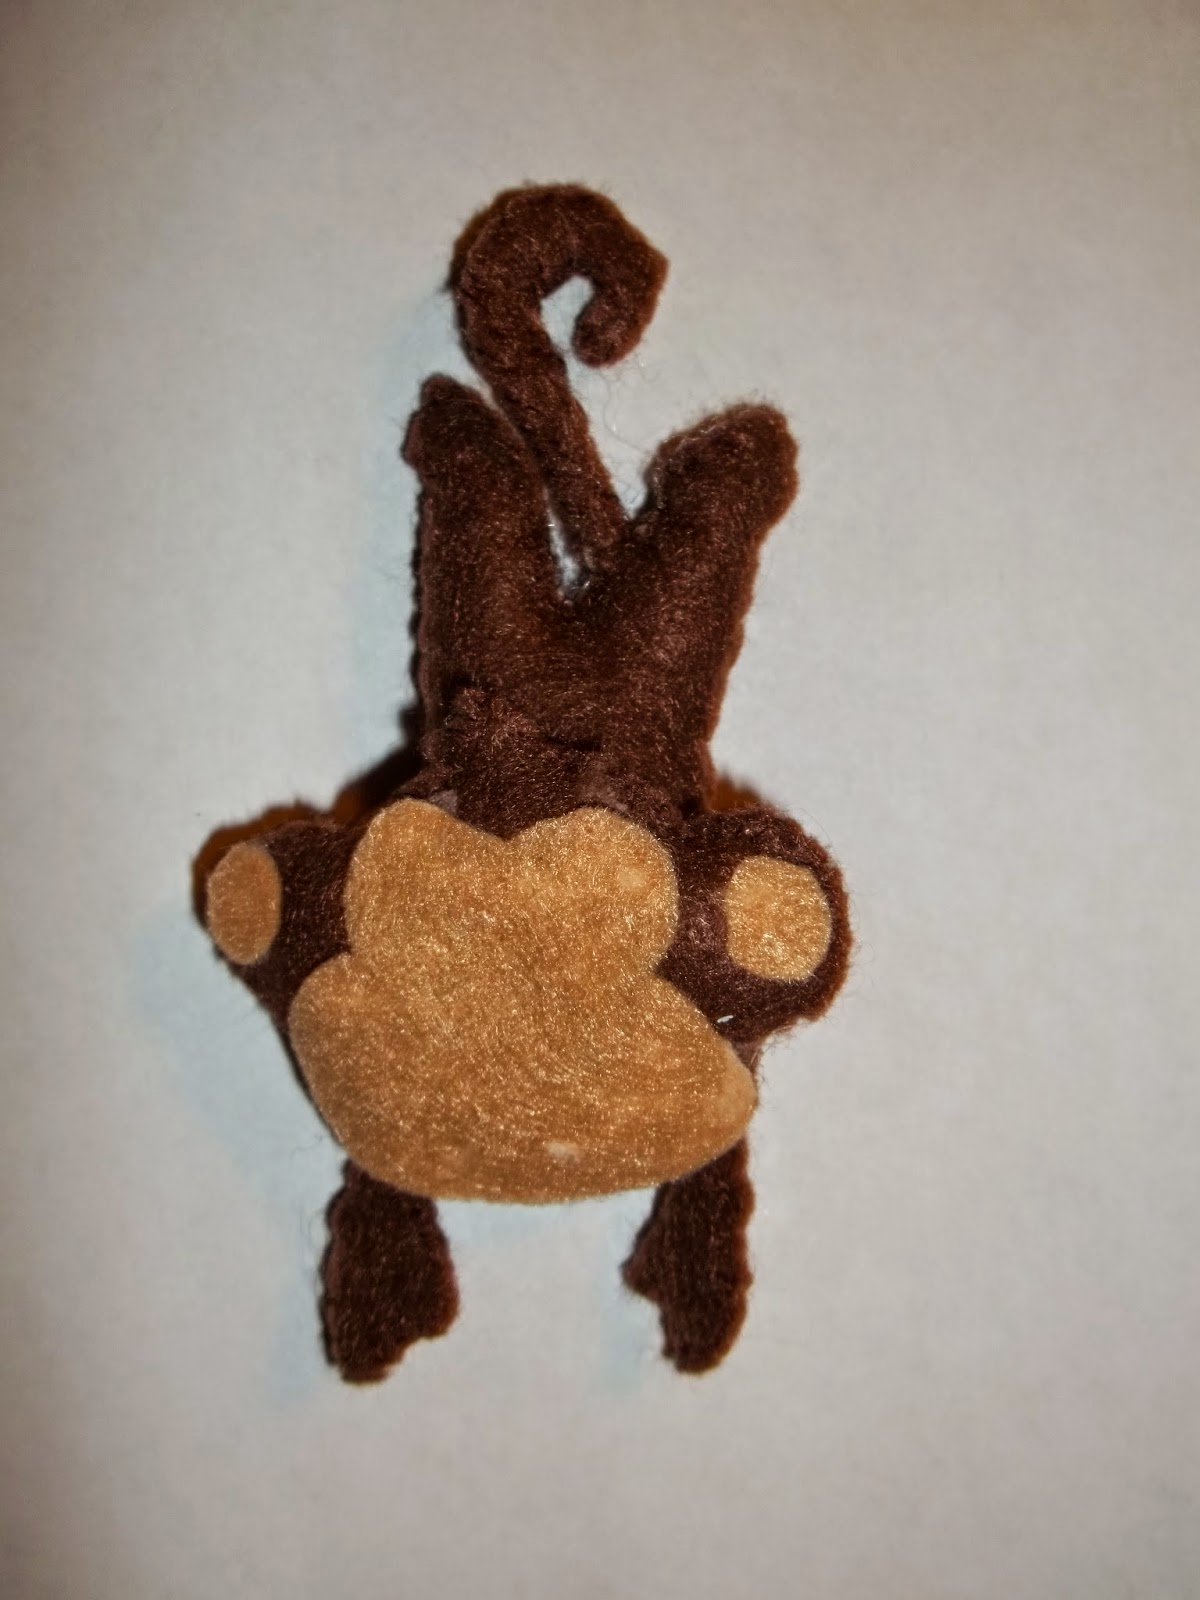
How to Make a Felt Monkey Toy

Last week, I made my nephew a safari-themed mobile. My brother had looked at a few on Etsy that he liked, but they were quite costly. He asked if I would be able to make one. It was super easy and it turned out pretty cute. The entire mobile costs less than $5 to make! Each animal costs less than $1 to make!

Today, I will show you how to make the monkey. I made mine basic colors, but you can make yours any color that you want.


Needed Materials:

Dark Brown Felt (body and head)
Light Brown Felt (face and inner ears)
White Felt (outer eyes)
Black Felt (inner eyes and nose)
Small Amount of Polyfill Stuffing
Sewing Needle
Thread
Craft Glue


Step 1. Make a template. I looked through several clip-art monkeys for ideas and then drew up a template. I am not artsy at all, so you may want to come up with your own ideas. Here is pdf file of the monkey template that I used.


Step 2. Using your template, cut the monkey body, head, face, and inner ears out of the felt. I did find that it was a little easier to cut out the template if I pinned the template to the felt and then cut around it.


Step 3. Staying close to the edges, sew around the entire body. Be sure to leave an open space to put in the stuffing. 

Step 4. Lightly stuff the monkey's body.

Step 5. Once you are happy with the amount of stuffing, sew the hole shut.

Step 6. Follow the same process for the monkey's head.

Step 7. Sew the monkey's head to the body.


Step 6. Glue or sew on the face, nose and inner ears.


Step 7.  Glue or sew on the eyes. I did not make a template for the eyes, because they are just ovals. However, you might choose to use safety eyes or googly eyes or whatever you want.


Step 8. Make the mouth. I just drew on the mouth with a Sharpie, but you could also embroider it or even make it out of felt.


I think this monkey turned out pretty cute. These felt animals would also make great toys or even decorations. You could also skip the stuffing and use them as embellishments.

So far, we have made an elephant, lion, giraffe, and monkey. Tomorrow, I will show you how to make the snake.