Showing posts with label Nursery Mobile. Show all posts

Wednesday, August 6, 2014

How to Make a Felt Snake Toy

Last week, I made my nephew a safari-themed mobile. My brother had looked at a few on Etsy that he liked, but they were quite costly. He asked if I would be able to make one. It was super easy and it turned out pretty cute. The entire mobile costs less than $5 to make! Each animal costs less than $1 to make!

Today, I will show you how to make the snake. I made mine yellow and black, but you can make yours any color that you want.


Needed Materials:

Yellow Felt (body)
Black Felt (markings)
White Felt (outer eyes)
Black Felt (inner eyes)

Red Felt (tongue)
Small Amount of Polyfill Stuffing
Sewing Needle
Thread
Craft Glue


Step 1. Make a template. I just drew up a template on my own for this one. It was just a long body and then the head, so there is not much to it. I am not artsy at all, so you may want to come up with your own ideas. Here is pdf file of the snake template that I used.


Step 2. Using your template, cut the snake out of the felt. I did find that it was a little easier to cut out the template if I pinned the template to the felt and then cut around it.

Step 3. Staying close to the edges, sew around the entire body. When sewing the head, place the tongue and sew it in place. Be sure to leave an open space to put in the stuffing. 

Step 4. Lightly stuff the snake.

Step 5. Once you are happy with the amount of stuffing, sew the hole shut.


Step 6. Glue or sew on the eyes. I did not make a template for the eyes, because they are just ovals. However, you might choose to use safety eyes or googly eyes or whatever you want.

Step 7. Glue or sew on any markings that you choose to give your snake.

Step 8. I just drew on the nostrils with a Sharpie, but you could also embroider it or even make them out of felt.


I think this snake turned out pretty cute. These felt animals would also make great toys or even decorations. You could also skip the stuffing and use them as embellishments.

We now have an elephant, lion, giraffe, monkey, and snake. Tomorrow, I will show you how to make these animals into a mobile.

Tuesday, August 5, 2014

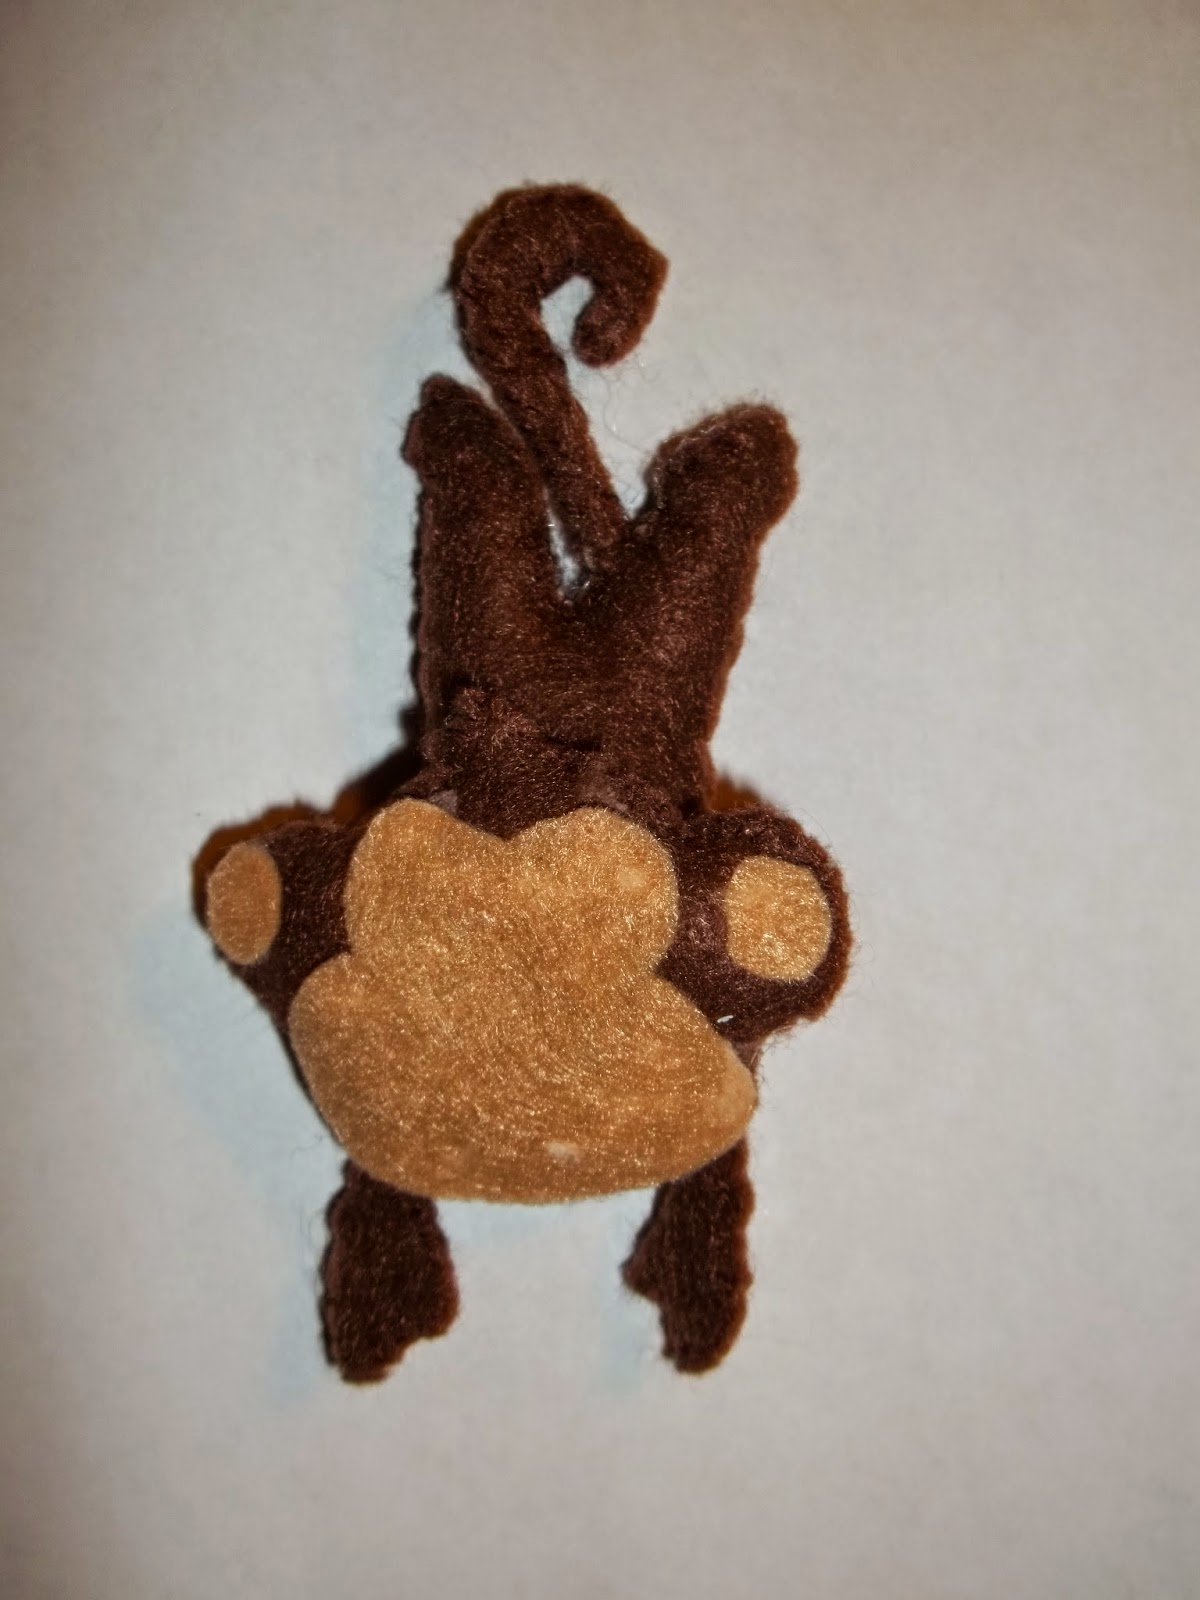
How to Make a Felt Monkey Toy

Last week, I made my nephew a safari-themed mobile. My brother had looked at a few on Etsy that he liked, but they were quite costly. He asked if I would be able to make one. It was super easy and it turned out pretty cute. The entire mobile costs less than $5 to make! Each animal costs less than $1 to make!

Today, I will show you how to make the monkey. I made mine basic colors, but you can make yours any color that you want.


Needed Materials:

Dark Brown Felt (body and head)
Light Brown Felt (face and inner ears)
White Felt (outer eyes)
Black Felt (inner eyes and nose)
Small Amount of Polyfill Stuffing
Sewing Needle
Thread
Craft Glue


Step 1. Make a template. I looked through several clip-art monkeys for ideas and then drew up a template. I am not artsy at all, so you may want to come up with your own ideas. Here is pdf file of the monkey template that I used.


Step 2. Using your template, cut the monkey body, head, face, and inner ears out of the felt. I did find that it was a little easier to cut out the template if I pinned the template to the felt and then cut around it.


Step 3. Staying close to the edges, sew around the entire body. Be sure to leave an open space to put in the stuffing. 

Step 4. Lightly stuff the monkey's body.

Step 5. Once you are happy with the amount of stuffing, sew the hole shut.

Step 6. Follow the same process for the monkey's head.

Step 7. Sew the monkey's head to the body.


Step 6. Glue or sew on the face, nose and inner ears.


Step 7.  Glue or sew on the eyes. I did not make a template for the eyes, because they are just ovals. However, you might choose to use safety eyes or googly eyes or whatever you want.


Step 8. Make the mouth. I just drew on the mouth with a Sharpie, but you could also embroider it or even make it out of felt.


I think this monkey turned out pretty cute. These felt animals would also make great toys or even decorations. You could also skip the stuffing and use them as embellishments.

So far, we have made an elephant, lion, giraffe, and monkey. Tomorrow, I will show you how to make the snake.


Monday, August 4, 2014

How to Make a Felt Giraffe Toy

Last week, I made my nephew a safari-themed mobile. My brother had looked at a few on Etsy that he liked, but they were quite costly. He asked if I would be able to make one. It was super easy and it turned out pretty cute. The entire mobile costs less than $5 to make! Each animal costs less than $1 to make!

Today, I will show you how to make the giraffe. I made mine basic colors, but you can make yours any color that you want.


Needed Materials:

Yellow Felt (body)
Orange Felt (muzzle, horns, spots, and tail)
White Felt (outer eyes)
Black Felt (inner eyes)
Small Amount of Polyfill Stuffing
Sewing Needle
Thread
Craft Glue


Step 1. Make a template. I looked through several clip-art giraffes for ideas and then drew up a template. I am not artsy at all, so you may want to come up with your own ideas. Here is pdf file of the giraffe template that I used.


Step 2. Using your template, cut the giraffe out of the felt. I did find that it was a little easier to cut out the template if I pinned the template to the felt and then cut around it.


Step 3. Staying close to the edges, sew around the entire giraffe. Place the horns and tail pieces in place as you sew around the body. Be sure to leave an open space to put in the stuffing. 

Step 4. Lightly stuff the giraffe's body.


Step 5. Once you are happy with the amount of stuffing, sew the hole shut.

Step 6. Glue or sew on a face and spots. I did not make a template for the eyes or spots, because they are just ovals and circles. However, you might choose to use safety eyes or googly eyes or whatever you want.


I think this giraffe turned out pretty cute. These felt animals would also make great toys or even decorations. You could also skip the stuffing and use them as embellishments.

Tomorrow, I will show you how to make the monkey.

Sunday, August 3, 2014

How to Make a Felt Lion Toy

Last week, I made my nephew a safari-themed mobile. My brother had looked at a few on Etsy that he liked, but they were quite costly. He asked if I would be able to make one. It was super easy and it turned out pretty cute. The entire mobile costs less than $5 to make! Each animal costs less than $1 to make!

Today, I will show you how to make the lion. I made mine basic colors, but you can make yours any color that you want.


Needed Materials:
Light Brown Felt (head and body)
Dark Brown Felt (mane, nose, and tail)
White Felt (outer eyes)
Black Felt (inner eyes)
Small Amount of Polyfill Stuffing
Sewing Needle
Thread
Craft Glue

Step 1: Make a template. I looked through several clip-art lions for ideas and then drew up a template. I am not artsy at all, so you may want to come up with your own ideas. Here is pdf file of the lion template that I used.

Step 2: Using your template, cut the lion out of the felt.


I did find that it was a little easier to cut out the template if I pinned the template to the felt and then cut around it.

Step 3: Staying close to the edges, sew around the head and the mane. Be sure to leave an open space to put in the stuffing.


Step 4: Lightly stuff the lion's head and mane.


Step 5: Once you are happy with the amount of stuffing, sew the hole shut.

Step 6: Follow the same process for the lion's body that you did for the head and mane. Be sure to put the tail pieces in place as you sew around the body. 


Step 7: Sew the head to the mane.


Step 8: Sew the head to the body.


Step 9: Glue or sew on a face. I did not make a template for the eyes, because they are just ovals. However, you might choose to use safety eyes or googly eyes or whatever you want. I did not make a mouth on this guy. I tried a few different versions, but I did not find one that I liked. I thought he looked ok without a mouth, so I just left him without.


I think the lion turned out pretty cute. These felt animals would also make great toys or even decorations. You could also skip the stuffing and use them as embellishments.

Tomorrow, I will show you how to make the giraffe.

Saturday, August 2, 2014

Make a Felt Elephant Toy

Last week, I made my nephew a safari-themed mobile. My brother had looked at a few on Etsy that he liked, but they were quite costly. He asked if I would be able to make one. It was super easy and it turned out pretty cute. It cost less than $5 to make! Each animal costs less than $1 to make!

Today, I will show you how to make the elephant. I made mine basic colors, but you can make yours any color that you want.

Needed Materials:
Grey Felt (head, tail, and body)
Pink Felt (inner ears)
White Felt (outer eyes)
Black Felt (inner eyes)
Red Felt (mouth)
Small Amount of Polyfill Stuffing
Sewing Needle
Thread
Craft Glue


Step 1: Make a template. I looked through several clip-art elephants for ideas and then drew up a template. I am not artsy at all, so you may want to come up with your own ideas. Here is pdf file of the elephant template that I used.

Step 2: Using your template, cut out the elephant.


Step 3: Staying close to the edges, sew around the body. Put the tail pieces in place as you sew around the body. Be sure to leave an open space to put in the stuffing.


Step 4: Lightly stuff the elephant's body.


Step 5: Once you are happy with the amount of stuffing, sew the hole shut.


Step 6: Follow the same process for the head that you did for the body.


Step 7: Sew the head to the body.


Step 8: Glue or sew on a face and the inner ears. I did not make a template for the eyes, because they are just circles. However, you might choose to use safety eyes or googly eyes or whatever you want. I tried drawing on a mouth, but I didn't like how it turned out, so I made a mouth with felt. 


I think the elephant turned out pretty cute. These felt animals would also make great toys or even decorations. You could also skip the stuffing and use them as embellishments.

Tomorrow, I will show you how to make the lion.