Showing posts with label Armoire. Show all posts

Tuesday, November 4, 2014

DIY Pottery Barn Valencia Armoire Knock-off Full Material and Cut Lists

I built myself a new bedroom set. The bedroom set included a Pottery Barn Hudson Bed knock-off, a nightstand, a large wooden dog bed, and a Pottery Barn Valencia Armoire knock-off. I built the armoire in two sections. You can find the detailed steps for the dresser portion of the armoire here and the detailed steps of the shelving unit portion of the armoire here. Today, I will give you complete material and cut lists to build the entire armoire.

Pottery Barn's Valencia Armoire sells for $1,599. I made mine for under $250!


Because I have a small bedroom, I did decrease the depth of the drawers and shelves by about 4". If you want to build your armoire to the Pottery Barn specifications, you will need to increase the depth. If you have a smaller area, you could also decrease the depth.

Here is a complete material list if you would like to build this armoire. Depending upon the cost of the hardware, you could build this entire armoire for under $250!

Needed materials:
3 - 1"x2" at 8 feet
1 - 1"x4" at 4 feet
1 - 1"x10" at 3 feet
2 - 1"x10" at 8 feet
1 - 1"x12" at 8 feet
4 - 2"x2" at 8 feet
1 - 4"x4" at 4 feet
1 - 1/4" plywood at 4'x8'
1 - 1/4" plywood at 4'x4'
1 - 1/2" plywood at 4'x4'
2 - 3/4" plywood at 4'x8'
1 1/4" PH screws
2 1/2" PH screws
1 1/4" finishing nails
3/4" finishing nails
1 1/4" wood screws
2 - 16" Bottom Mount Euro drawer slides
4 drawer pulls
2 cabinet pulls
6 hinges
2 magnetic latches
Brackets (to hold together the two portions)

Here is the complete cut list if you want to build both parts of the armoire.

2 - 1/4" plywood at 16" x 37 1/2" (drawer bottoms)
1 - 1/4" plywood at 26 3/4" x 41 1/2"(dresser back)
1 - 1/4" plywood at 40 3/4" x 41 1/2"(shelving unit back)
2 - 1/2" plywood at 19 1/8" x 37" (doors)
2 - 3/4" plywood at 15 3/4" x 26 3/4" (dresser sides)
3 - 3/4" plywood at 18" x 40" (shelves)
2 - 3/4" plywood at 18" x 40 3/4" (shelving unit sides)
1 - 3/4" plywood at 20" x 42 1/2" (dresser top)
1 - 3/4" plywood at 21 1/2" x 45 1/2" (shelving unit topper)
4 - 1"x2" at 15 3/4" drawer slide holders)
2 - 1"x2" at 38 1/2" (drawer divider and back middle frame)
2 - 1"x2" at 40 3/4" (shelving unit side trim)
1 - 1"x4" at 38 1/2" (shelving unit header)
4 - 1"x10" at 36" (drawer fronts and backs)
4 - 1"x10" at 16" (drawer sides)
2 - 1"x12" at 38 1/4" (drawer faces)
4 - 2"x2" at 26 3/4" (dresser sides of frames)
4 - 2"x2" at 38 1/2" (dresser top and bottom of frames)
2 - 2"x2" at 40" (shelving unit top frames)
2 - 4"x4" at 3" (back feet)
2 - 4"x4" at 3" then cut at a 15 degree bevel (front feet)

Enjoy your new armoire and be sure to check out the other items that I built in my new bedroom set!


Monday, November 3, 2014

DIY Pottery Barn Inspired Valencia Armoire Part II (Shelving Portion)

I have been building myself a new bedroom set including a bed, nightstand, and matching dog bed. I don't have a closet in my bedroom, so I needed an armoire. I looked at a few different plans, but I couldn't find a plan that I really liked. I really liked Pottery Barn's Valencia Armoire, but I did not like the $1,599 price tag. I decided to make one on my own.

I built it in two parts. I first made the bottom dresser and then the top shelving unit. You can find the steps for the dresser here. Either could be used individually or bracketed together to make one unit. Here are the steps I took to make the top shelving unit. The cost of the materials, including the hardware, for the shelving portion was just under $100.


Pottery Barn's armoire is 27" deep. I have very limited room in my bedroom, so I decreased the depth. I made mine to have a depth of 19 3/4". If you want the same size as Pottery Barn, you will have to increase the depth.


Needed materials:
1 - 4'x4' 1/4" plywood
1 - 4'x4' 1/2" plywood
1 - 4'x8' 3/4" plywood
1 - 2'x4' 3/4" plywood
1 - 1"x2" at 8'
1 - 1"x4" at 4'
1 - 2"x2" at 8'
1 1/4" PH screws
1 1/4" finishing nails
3/4" finishing nails
6 hinges 
2 cabinet pulls
Magnetic latches

Step 1: Make your cuts. 

2 - 3/4" plywood at 18" x 40 3/4" (sides)
3 - 3/4" plywood at 18" x 40" (shelves)
2 - 2"x2" at 40" (top frames)
1 - 3/4" plywood at 21 1/2" x 45 1/2" (topper)
1 - 1/4" plywood at 40 3/4" x 41 1/2"(back)
2 - 1"x2" at 40 3/4" (side trim)
1 - 1"x4" at 38 1/2" (header)
2 - 1/2" plywood at 19 1/8" x 37"

I used my circular saw for the plywood cuts and my miter saw for the rest of the cuts.


Step 2: Using a Kreg Jig, pre-drill pocket holes into the bottom shelf. At this time, you may also choose to pre-drill pocket holes into the top of the sides to later attach the topper.

Step 3: Attach the bottom shelf to the sides. You could also use counter-sunk screws if you don't have a Kreg Jig. The shelf will be inside the two sides.


Step 4: Using pocket holes or counter-sunk screws, attach the 2x2 top frames to the top of the sides.


Step 5: Using pocket holes or counter-sunk screws, attach the other two shelves. You can place these at whatever height that you want. You could also make these shelves adjustable by using shelf pins. You may also choose to leave the shelves out and put in a hanging rod to hang clothes or to put in a television.

Note: Depending on where you want to place the top shelf, you might want to wait to attach the top shelf, until after you attach the topper. If you put the top shelf in too high and are using pocket holes, you will not be able to fit your drill in later.


Step 6: Using finishing nails, attach the back.


Step 7: Using finishing nails and glue, attach the side trim.


Step 8: Using pocket holes or counter-sunk screws, attach the header.


Step 9: Using the pre-drilled pocket holes or counter-sunk screws, attach the topper.


Step 10: Using three hinges for each door, attach the doors. You also could leave the doors off and leave this as an open shelving unit.


Step 11: Fill any holes with wood filler and sand it.

Step 12: Paint or finish it. I used Rustoleum Painter's Touch in Kona Brown.


Step 13: Attach the cabinet hardware and magnetic catch according to the manufacturer's directions. I used Hickory Hardware's Studio Collection Pull in the Oil-Rubbed Bronze Highlighted color. They were about $4.50 each from Menards. 


Step 14: The shelving unit portion is complete at this point. You could use this as a stand-alone unit.


You could also place it on top of the dresser portion of the armoire.


If you place the shelving unit on top of the dresser unit. I strongly suggest bracketing the two units together for safety.

Step 16: Enjoy your new armoire!


Tomorrow, I will post a full material and cut list for the entire armoire.


Friday, October 24, 2014

DIY Pottery Barn Inspired Valencia Armoire Part I (Dresser Portion)

I recently built a new bed, nightstand, and dog bed. I needed a new armoire to match. I looked at a few different plans, but I couldn't find a plan that I really liked. I don't have a closet in my bedroom, so I needed a pretty large one. I really liked Pottery Barn's Valencia Armoire, but I did not like the $1,599 price tag. I decided to make one on my own.

I decided to make it in two parts. I first made the bottom dresser and then the top shelving unit. Either could be used individually or bracketed together to make one unit. Here are the steps I took to make the bottom dresser. The cost of the materials, including the hardware, for the dresser portion was around $125.


Pottery Barn's armoire is 27" deep. I have very limited room in my bedroom, so I decreased the depth. I made mine to have a depth of 19 3/4". If you want the same size as Pottery Barn, you will have to increase the depth.


Needed materials:
1 - 4'x8' 1/4" plywood
1 - 4'x8' 3/4" plywood
2 - 1"x2"
4 - 2"x2"
3 - 1"x10"
1 - 1"x12"
1 1/4" PH screws
2 1/2" PH screws
1 1/4" finishing nails
3/4" finishing nails
1 1/4" wood screws
2 - 16" Bottom Mount Euro drawer slides
4 drawer pulls

Step 1: Make your cuts. 

2 - 3/4" plywood at 15 3/4" x 26 3/4" (sides)
4 - 1"x2" at 15 3/4" (drawer slide holders)
4 - 2"x2" at 38 1/2" (top and bottom of frames)
4 - 2"x2" at 26 3/4" (sides of frames)
2 - 1"x2" at 38 1/2" (drawer divider and back middle frame)
1 - 1/4" plywood at 26 3/4" x 41 1/2"(back)
1 - 3/4" plywood at 20" x 42 1/2" (top)
4 - 1"x10" at 36" (drawer fronts and backs)
4 - 1"x10" at 16" (drawer sides)
2 - 1"x12" at 38 1/4" (drawer faces)
2 - 1/4" plywood at 16" x 37 1/2" (drawer bottoms)
2 - 4"x4" at 3" (back feet)
2 - 4"x4" at 3" then cut at a 15 degree bevel (front feet)

I used my circular saw for the plywood cuts and my miter saw for the rest of the cuts. 


Step 2: Attach the drawer slide holders to the inside of each side using glue and 1 1/4" finishing nails. Place one 1 1/2" from the bottom. Place the other one 11 1/2" from the top. There will be a 10 3/4" space between the two. Be sure these are level because this is what the drawer slides are going to be attached to.


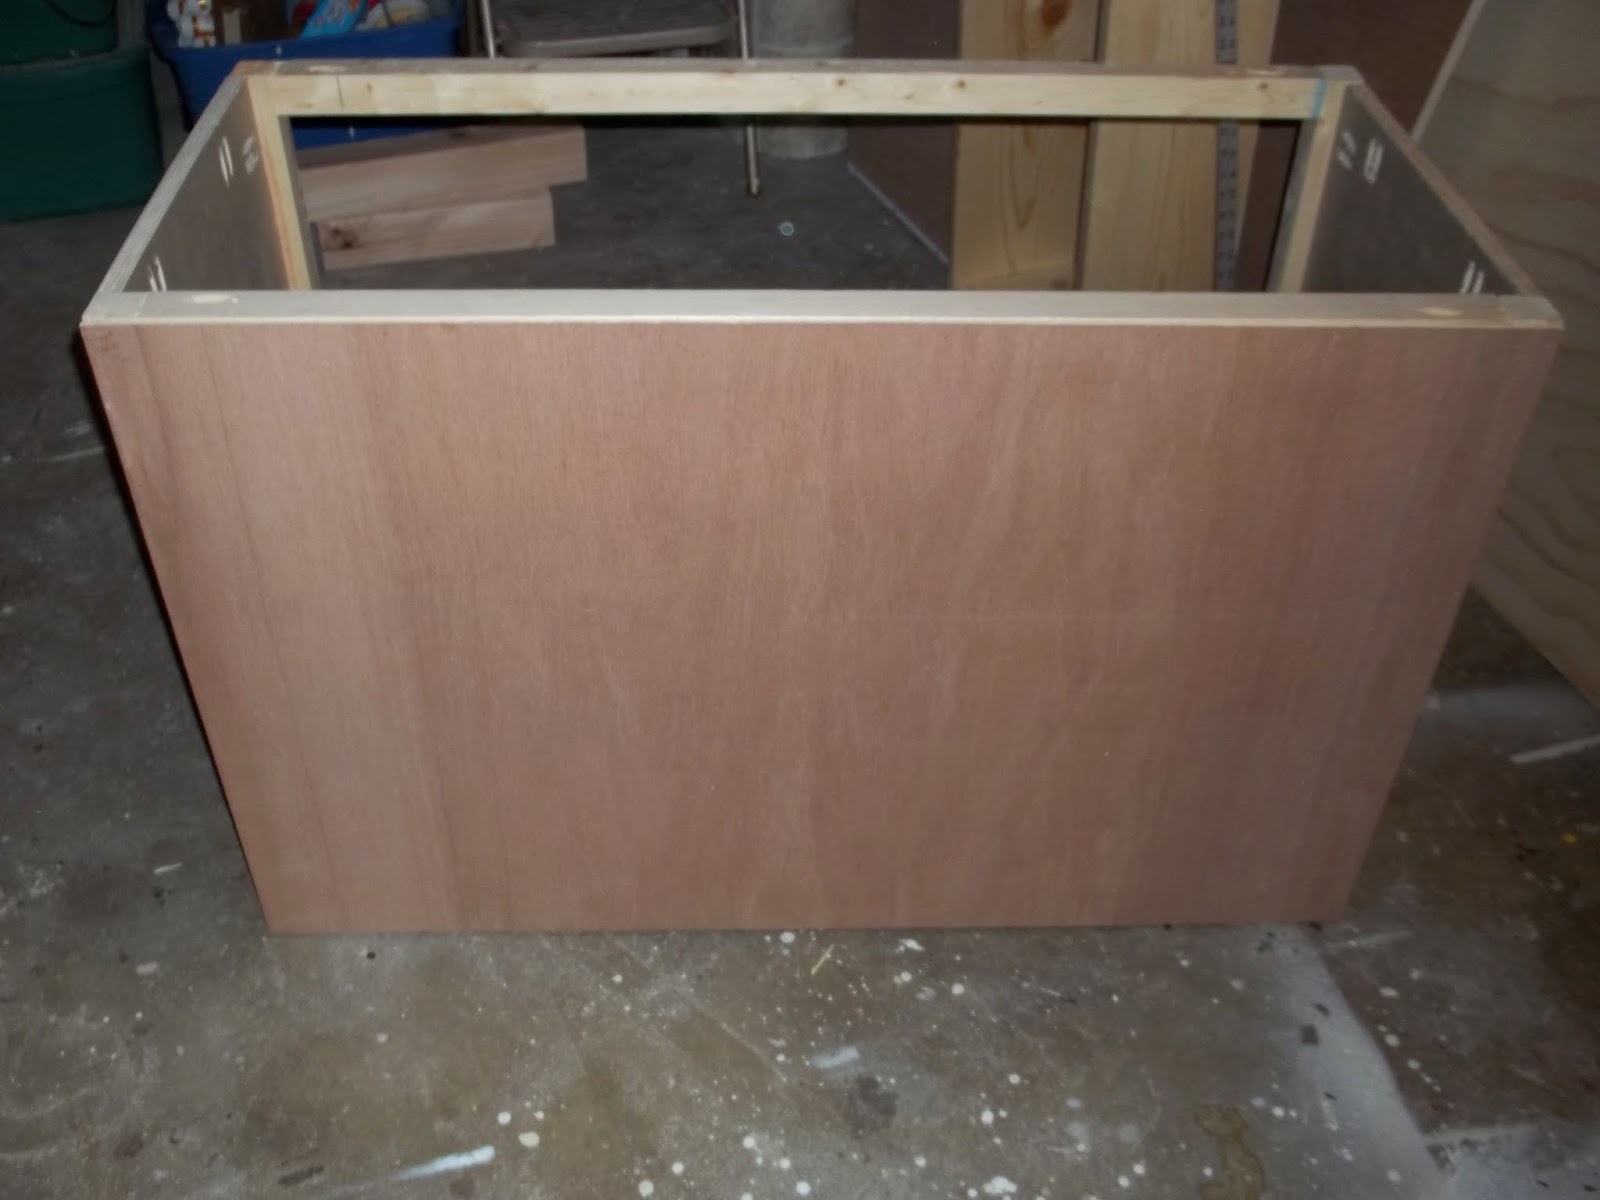
Step 3: Pre-drill the pocket holes set at the 3/4" setting. Place your pocket holes along the top of the sides to later attach the top. Also, place pocket holes along the sides to attach the frame. You may also choose to place pocket holes at the bottom for later attaching the feet. I was originally not going to put feet on this, but I later changed my mind, so I did not do this at this point.

Step 4: Using 2 1/2" PH screws and setting your Kreg Jig at the 1 1/2" setting, build the front and back frames. Make sure the frames are square. If they are not perfectly square, the drawers will not work properly.


Step 5: Using 1 1/4" PH screws, attach the front and back frames.


Step 6: Using glue and 1 1/4" PH screws, attach the drawer divider in the front. I also added one to the back. I did this just to help keep everything square, but you don't need to add this if you don't want to.


Step 7: Using 3/4" finishing nails, attach the back. This is optional, but since this is the first time that I have attempted drawers, I figured I would add it just to help keep things square. I highly suggest using a back if you are going to make the top portion of the armoire. It will help with the weight.


Step 8: Using 1 1/4" PH screws, attach the top with an overhang of 1/2" on all sides. I also added some finishing nails to hold the top to the 2"x2" frame.


Step 9: Attach the drawer slides to the drawer slide holders following the manufacturer's directions. Be sure to make note of the necessary clearance for the drawer slides. These directions are based off of a clearance of 1/2" on each side. If the drawer slides that you use are different, be sure to adjust the dimensions of your drawer.


Step 10: Using 1 1/4" PH screws, build your drawers.


Step 11: Using 3/4" finishing nails, attach the bottom of the drawers.

Step 12: Following the manufacturer's instructions for the drawer slides, attach the slides to the drawers.


Step 13: Put your drawers in place and then test out the drawer face to make sure it fits. I used 1/8" shims on each side to act as spacers. I then used glue and a few finishing nails to attach the face to the drawer. When I was happy with the placement, I put 1 1/4" screws on the inside of the drawer.


Step 14: Attach the feet. I was not going to put feet on this, so the way I did it was probably not the best way. They should have been attached from the inside to hide the pocket holes. I had to place the pocket holes on the outside. Use 2 1/2" PH screws and glue.


Step 15: Fill any holes with putty and sand it.


Step 16: Paint or finish it. I used Rustoleum Painter's Touch in Kona Brown.


Step 17: Attach the drawer hardware according to the manufacturer's directions. I used Hickory Hardware's Studio Collection Double Bore Cup Pull in the Oil-Rubbed Bronze Highlighted color. They were about $7 each from Menards.


Step 18: Enjoy your new dresser!


This could be used as a stand-alone dresser or as a base to the armoire. I will be adding the tutorial for the top portion of the armoire soon.